
Jekyll 블로그 상단 메뉴 추가하기 (Minimal-Mistakes 기준)
Jekyll 테마마다 구조가 많이 다릅니다. 아래 설명은 minimal-mistakes 테마 기준입니다. 만약 다른 테마를 사용하신다면 방법만 참고해주세요.
🎯 목표

상단 메뉴에 Blogs 탭을 추가하고 Post의 category별로 분류해서 보여주는 페이지를 만들어보겠습니다.
🧑🏻💻 방법
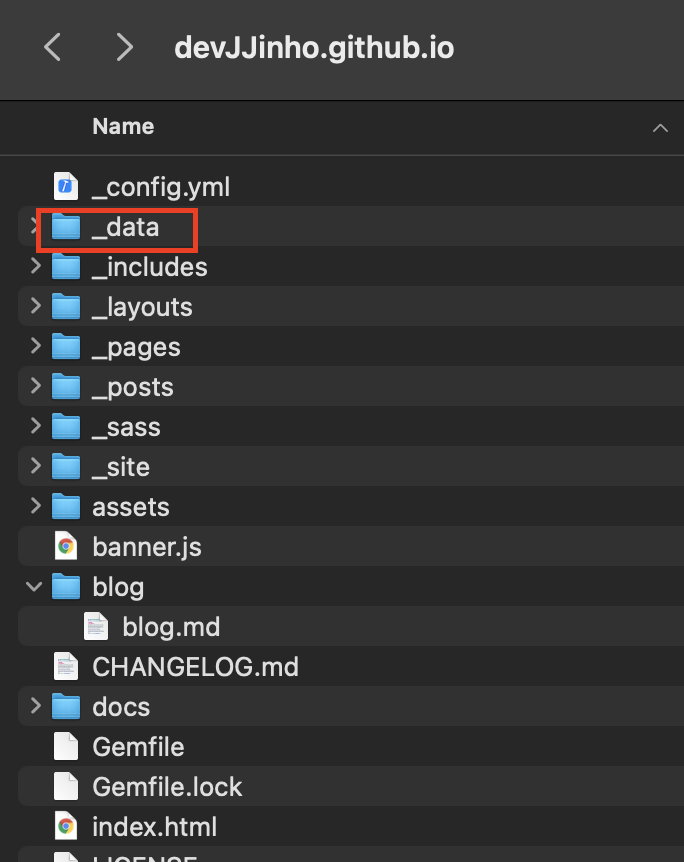
minimal-mistakes를 clone하거나 압축파일을 로컬에서 풀게되면 위와 같은 디렉토리가 생깁니다.
- /_data/navigation.yml을 열어줍니다.
/_data/navigation.yml
- Blogs 메뉴의 이름과 경로를 추가해줍니다.
 main:
 -title: "Posts"
     url: /year-archive/
 -title: "Blogs"
     url: /categories/
 -title: "Tags"
     url: /tags/
 -title: "About Me"
     url: /about/
(원하는 정렬 순으로 작성하면 됩니다.)
위 단계를 통해 상단의 메뉴를 추가했습니다.
-
_pages에 categories.md를 생성합니다.
내용:
 ---
 title: "Posts by Categories"
 permalink: /categories/
 layout: categories
 author_profile: true
 ---
설명:
 --- <== 필수
 title: "Posts by Categories"
 permalink: /categories/  <==navigation.yml의 Link와 일치시킵니다.
 layout: categories  <==이후에 생성할 _layout/*.html 이름과 일치시킵니다.
 author_profile: true
 --- <== 필수
위 단계를 통해 Jekyll이 정적 페이지를 생성할때 (url)/tags/ 경로와 해당하는 페이지를 (layout이름).html을 통해 만듭니다.
-
/_layout/에 html파일 만들기 (liquid 언어 사용)
처음부터 다 만드는 것이 아니라 기존의 코드에서 약간만 수정하겠습니다.
posts.html의 일부분을 수정해서 categories.html으로 저장합니다.
--- layout: archive --- {{ content }} <ul class="taxonomy__index"> {% assign postsInTopic = site.posts | where_exp: "item", "item.hidden != true" | group_by_exp: 'post', 'post.categories' %} {% for topic in postsInTopic %} <li> <a href="#{{ topic.name }}"> <strong>{{ topic.name }}</strong> <span class="taxonomy__count">{{ topic.items | size }}</span> </a> </li> {% endfor %} </ul> {% assign entries_layout = page.entries_layout | default: 'list' %} {% assign postsByTopic = site.posts | where_exp: "item", "item.hidden != true" | group_by_exp: 'post', 'post.categories' %} {% for topic in postsByTopic %} <section id="{{ topic.name }}" class="taxonomy__section"> <h2 class="archive__subtitle">{{ topic.name }}</h2> <div class="entries-{{ entries_layout }}"> {% for post in topic.items %} {% include archive-single.html type=entries_layout %} {% endfor %} </div> <a href="#page-title" class="back-to-top">{{ site.data.ui-text[site.locale].back_to_top | default: 'Back to Top' }} ↑</a> </section> {% endfor %}밑줄 친 부분만 위와 같이 수정했습니다. Liquid 언어입니다. 기본 문법은 아래 링크를 참조해주세요.
Liquid
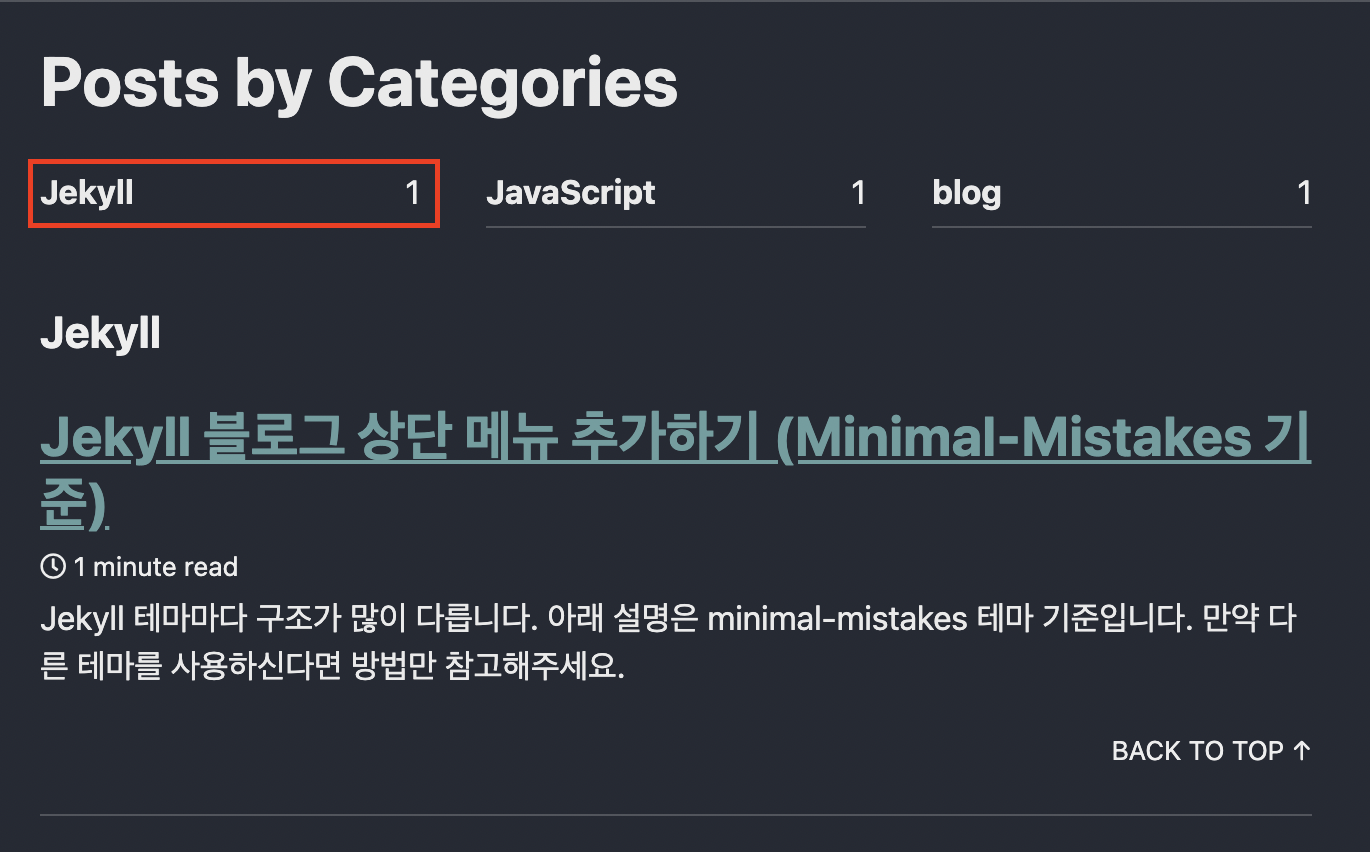
✔ 확인
포스트를 작성할떄 category :에 원하는 카테고리를 입력하면 정적 페이지가 생성될 때 반영됩니다.

📚 References
ekyll 기반의 GitHub Page 생성
Minimal-Mistakes 테마의 디렉터리 구조
Jekyll project 폴더 파일 구조 파헤치기